Installation
- Share
Vinyl flooring is a great way to change the appearance of a room without spending too much money.
The application is fairly simple and easy for beginners too, making it a great option for someone without a lot of home-improvement experience. If you're trying to learn how to install your own vinyl flooring, read on in Step One for help.
Part 1 of 2: Preparing the Old Flooring
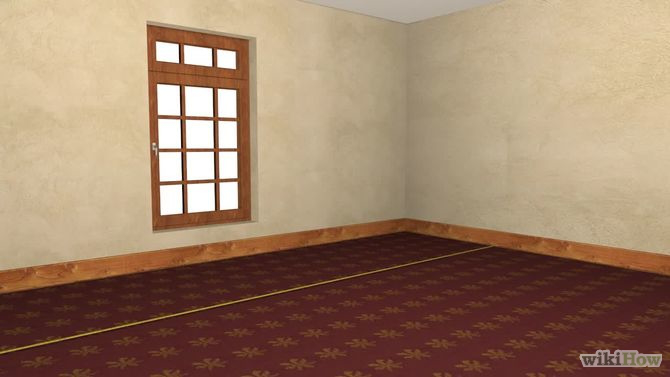
1Measure and order your vinyl.
Use a measuring tape to carefully determine the size of your room.
It is imperative that you get accurate measurements, or else you may end up with too little vinyl to finish the job.
In general, order a small amount of extra vinyl above your measurements, so you don’t run out.
2Remove anything that will be in the way.
Vinyl flooring can be placed in a variety of rooms, so the things you have to remove will vary depending on where you are placing your vinyl.
Take out any free-standing furniture, and then move on to appliances. In a kitchen, you’ll need to remove the fridge and stove/oven (if they are not built in types), and in a bathroom you need to take out the toilet.
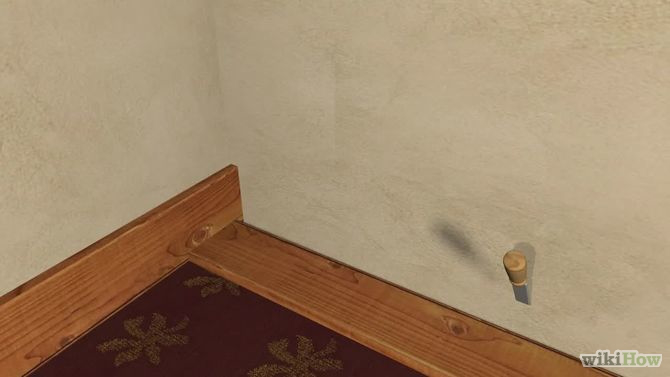
Then, remove the baseboards/trim along the bottom edge of the wall.
You don’t need to remove any cabinets or vanities, as these are typically in permanent locations and the flooring can be installed around them.

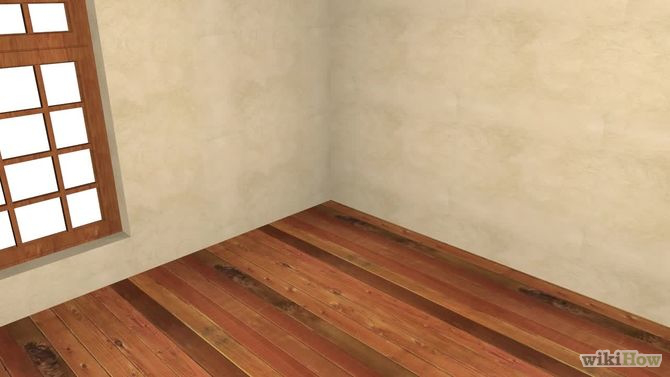
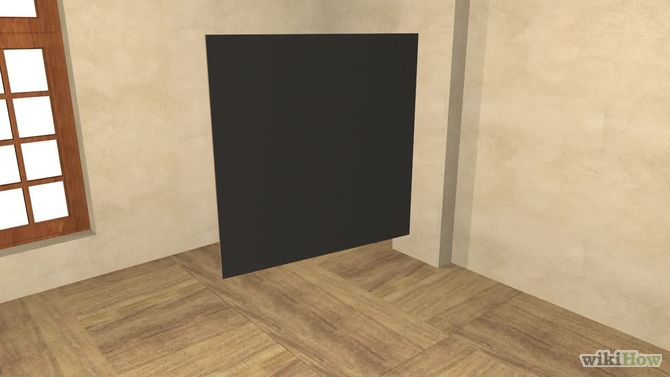
3Take out the old flooring.
This step is primarily necessary if you have carpet that you are replacing with vinyl;
vinyl flooring can cover nearly any floor surface, so long as it is rigid, flat, smooth, and dry. Pull up the old floor, and remove the threshold strips that trim out the doorways.
The next step, although tedious, is very important: work along the subfloor, pulling out (or hammering in) any and staples and nails that you encounter that are not driven below the floor surface.
You can pull a metal trowel across the floor and listen for the ‘tink!’ sound that happens when you hit a nail or staple, making it easier to find them.
Old flooring and floor adhesives may contain asbestos, so call your county for an asbestos test before pulling it or disturbing it.
If your county building or environmental office doesn't offer this service, consult a private testing laboratory to find out how to gather samples and have them test them.
If you choose not to remove the old flooring (if, for example, you’re putting vinyl over concrete or wood), just know that the floor will be a bit higher, and you might have to trim the bottom of your doors to accommodate the height.
4Make a paper template of the floor.
Making a template of the floor will allow you to get precise measurements, and may make cutting your plywood/vinyl much easier than going without.
Cut heavy construction paper into large strips, and lay it across your floor.
Cut out any corners or built-in obstacles, and add measurements.
Do this with multiple pieces of paper, until you've covered your entire floor.
Then, tape all the pieces of paper together to form a full sized copy of the floor.
You may need to do this in sections if you’re working with a large room or floor space.
You can measure hard-to-reach areas of flooring and draw/cut it onto the paper, if it is easier.
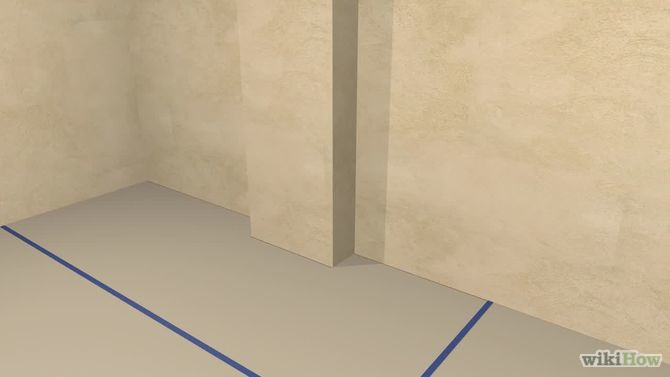
5Prepare your underlayer (underlayment).
For subfloors that require a lot of work to smooth, flatten, or level, installing an underlayment is the easiest way to make this correction.
The underlayer is a ¼-inch thick layer of plywood that smooths out the floor and provides a sturdy base for the vinyl.
Tape your paper template of the floor to your underlayer plywood.
Use this as a guide, and cut the plywood to fit the flooring in your room. Carefully cut your plywood in sections that match up, checking for fit with each completed piece.
· Only use vinyl-floor grade underlayer plywood, or else it won’t hold up.
· Rough-cut the underlayer first, and then make more detailed cuts after fitting each piece.
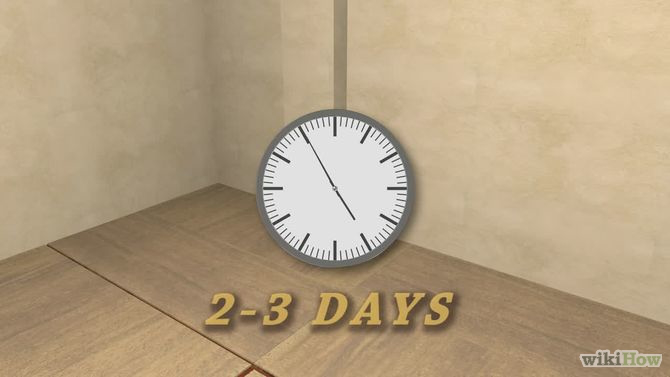
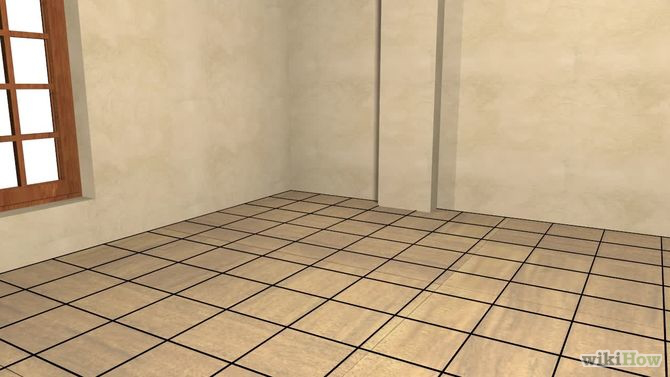
6Place your underlayer.
Put your underlayer plywood sheets in the room, and leave them for 2 or 3 days.
This will allow them to acclimate to your home’s normal humidity levels, and prevent the vinyl from coming up or tearing later on in the process.
Place the underlayer in it’s final location, so that the wood fits the space.
7Install the underlayer.
To install the underlayer, you will need to use a special underlayer stapler with ⅞-inch staples;
you will use approximately 16 staples per square foot of underlayer.
You should never use nails or screws in the underlayer, as these will cause bumps in the vinyl flooring.
Work your way across the room, stapling the underlayer to the floor.
Remove and replace any staples that don’t go all the way through the plywood.
8Finish smoothing the underlayer.
Work your way across the floor with a sander, smoothing down any edges that are not flush where they meet, or bumps in the underlayer.
Then, use a leveling compound to fill in these spaces and any cracks in the underlayer.
This will help to provide a smooth underlayer, which is vital to having a smooth final application of your vinyl.
· Follow the package directions for applying the floor leveling compound and make sure it is compatible with both the underlayer and the vinyl adhesive you will be using.
Part 2 of 2: Applying Your Vinyl
1Decide on the pattern for your vinyl.
Vinyl typically comes in 12 inch square tiles, but it may come in sheets.
If you have vinyl sheets, all you have to do is cut it out to fit the room, allowing for seams if the room is wider than the sheet.
Vinyl tiles, on the other hand, must be applied in a pattern.
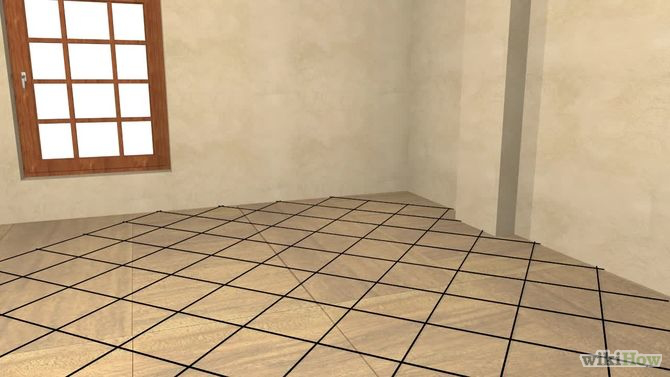
It’s typically easiest to apply vinyl in rows, but you may want to change the direction of the rows (for example, have them go diagonally across the room). #Determine how you will lay the floor.
You may strike a chalk line as a guide to the first row of vinyl (if you are using tiles.
Keep in mind that you will always start your pattern in the center of the room and work your way out, in order to keep it symmetrical.
2Determine the application process for your vinyl.
There are two types of vinyl: self-stick, and glue down.
Self-stick vinyl is very straight forward, as it comes with an adhesive backing that you use to stick it to the floor.
Glue down vinyl takes a bit more work, as it requires you to put a layer of vinyl flooring glue on the underlayer prior to placing your vinyl.
If you have self-stick vinyl, simply follow the directions for application and you are set.
If you have unglued vinyl, continue on for instructions on applying it.
3Mark your pattern on your paper template.
To make applying your vinyl easier, you can lay it out and cut it to fit using your paper template.
Simply lay the vinyl out on the template, and use it as a pattern for cutting your vinyl to size. If you prefer, you can skip this step and measure/cut your vinyl directly in the room, on the underlayer.
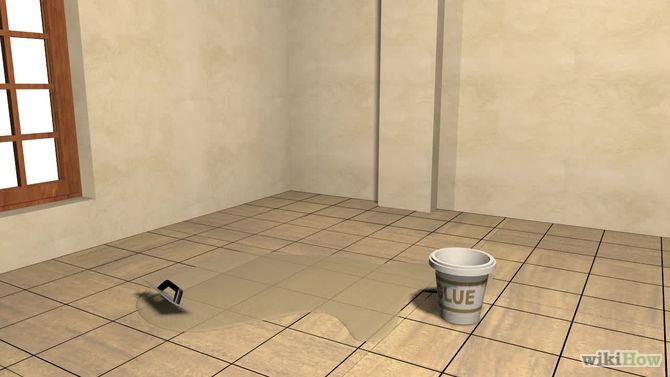
4Begin gluing the vinyl flooring.
Get your vinyl flooring adhesive out, and get a notched trowel.
Generally a 1/16 inch trowel is used for spreading the adhesive, some adhesives may also be applied with a short-napped paint roller.
Start in a corner of the room (following your pattern), and scoop out some of the glue onto the trowel.
Spread this across the underlayer in one section of the room, and then wait a few minutes for the ‘open’ time to set; laying the vinyl right away will cause air bubbles to form as the solvents evaporate from the adhesive.
· Always have a damp rag at the ready for spills or smears on the vinyl.
· Make sure that the notch-size of your trowel is compatible with the adhesive you’re using; check the application directions to verify.
5Lay the vinyl.
For solid vinyl tiles (VCT, or vinyl composition tiles), place each one flat, perfectly aligned with the row, and snugly abutting the previous tile. Do not slide the tiles when laying them, as this will "drag" the adhesive.
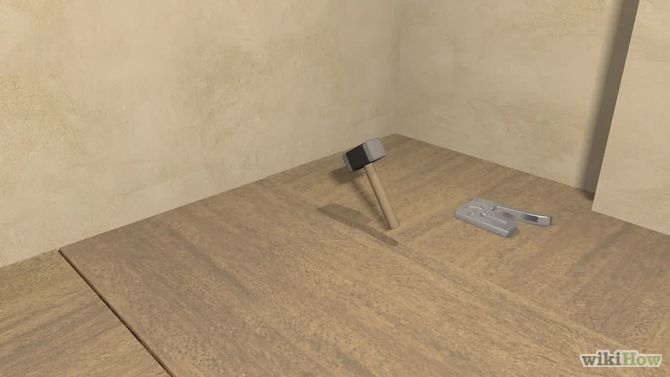
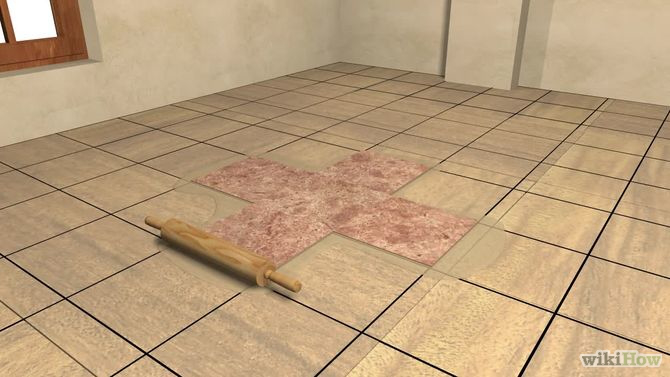
6Press the vinyl down to stick it to the adhesive.
If you’re using small vinyl tiles, you can use a rolling pin (yes, like the one in your kitchen); otherwise, rent a floor roller from a local home and garden center.
Apply pressure as you roll over the tile in order to stick it to the adhesive and the underlayer. Do this for each section of vinyl that you lay, and then again when you’ve completed all of the vinyl.
7Continue applying the vinyl.
Work your way across the floor, applying the vinyl according your your pattern.
Lay out some of the glue, allow it to dry until tacky, stick the vinyl, roll over it with your roller, and repeat the process at the next section.
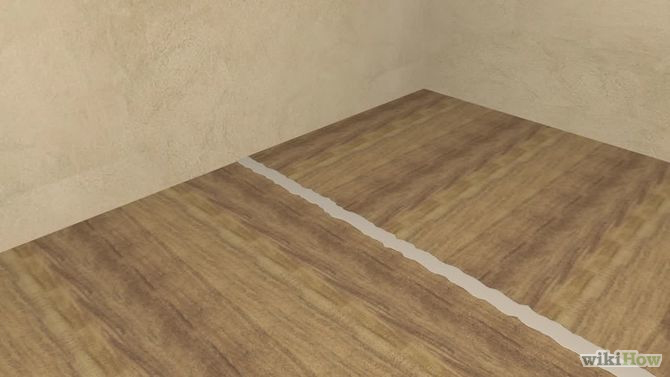
Fill the entire floor with the vinyl, until you reach the edges. If you need to cut vinyl to fit the odd edge spaces, do so now.
Otherwise, place your cut vinyl into these spaces and roll over them to verify that they are secured.
8Finish the flooring.
Wait several hours for the floor adhesive to dry (according to package instructions), and then begin replacing the molding/trim that you removed and adding the threshold strips.
If you installed your vinyl flooring in a bathroom, use a caulk gun to caulk around the edges of the floor where they meet with the baseboards.
This will protect from water damage and help your vinyl to last longer.
Tips
· Make sure the area you are working is well ventilated while using adhesives.
· Use a very sharp knife, either a flooring knife or utility knife will work well, for trimming the vinyl.
· If you set vinyl tiles in a bathroom, apply silicone caulking around the base of the toilet and shower to prevent water damage.
· Many vinyl tiles have a direction of run, that is, a specific orientation to follow so their pattern is consistent throughout a room. Often, the manufacturer has stamped a small arrow on the bottom of each tile.
· When laying tile or vinyl through doorways or into adjoining rooms, make sure your layout fits each space accurately.
Warnings
· Some adhesives may contain VOCs that can produce harmful and flammable fumes when used.
· Keep all finished sides of the vinyl clean and free of adhesive while placing it.